Tea Time: Lesson 2
Lesson Videos
Supplies Used in this Lesson
Helpful Tips
Using the supplies:
Do not heat the wax above 240 degrees.
Very important tips:
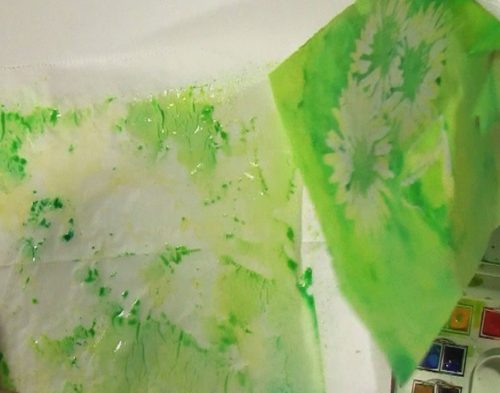
Make sure you remove the wax paper from under your project every time you finish waxing. If you do not do this, then when you watercolor on your rice paper it will become very fragile and it will tear when you try to peal the batik away from the wax paper. If you accidently tear your project do not panic. This can easily happen and it is easily repaired at the end of the project.
How to repair a tear in the rice paper: After you have ironed out the wax from the batik at the end of the project, take a piece of rice paper that has been dipped in wax, and iron it onto the back of your masterpiece. You won’t see it and the rip will be fixed.
Make sure you completely dry the batik after you have water colored it. If you don’t do this, you will ruin your batik. Again, the rice paper is very fragile and so be careful with it. I like to take cloths pins and hang it up and put a fan in front of it. Then the paper will dry within 5–10 minutes and you will be ready for the next step in waxing.
When ironing out the wax, heat up the to the high setting. Put the batik between 4 pieces of paper and heat. You will see the wax come through the paper. When the paper is saturated with wax, carefully remove the paper and do this process again until most of the wax is out. If the batik is sticking to your paper and if is difficult to remove it, then just reheat that area in order to peel off the wax filled paper.
Project Images
Lesson Highlights
Student Showcase
You are not logged in
Please sign up or log in to access this lesson.


